VNNOX Care Help Center
Professional LED Display Management Platform
Konck! Knock!
OK
VNNOX Care Help Center
Home
VNNOX Care
(opens new window)
Program Packages
Konck! Knock!
OK
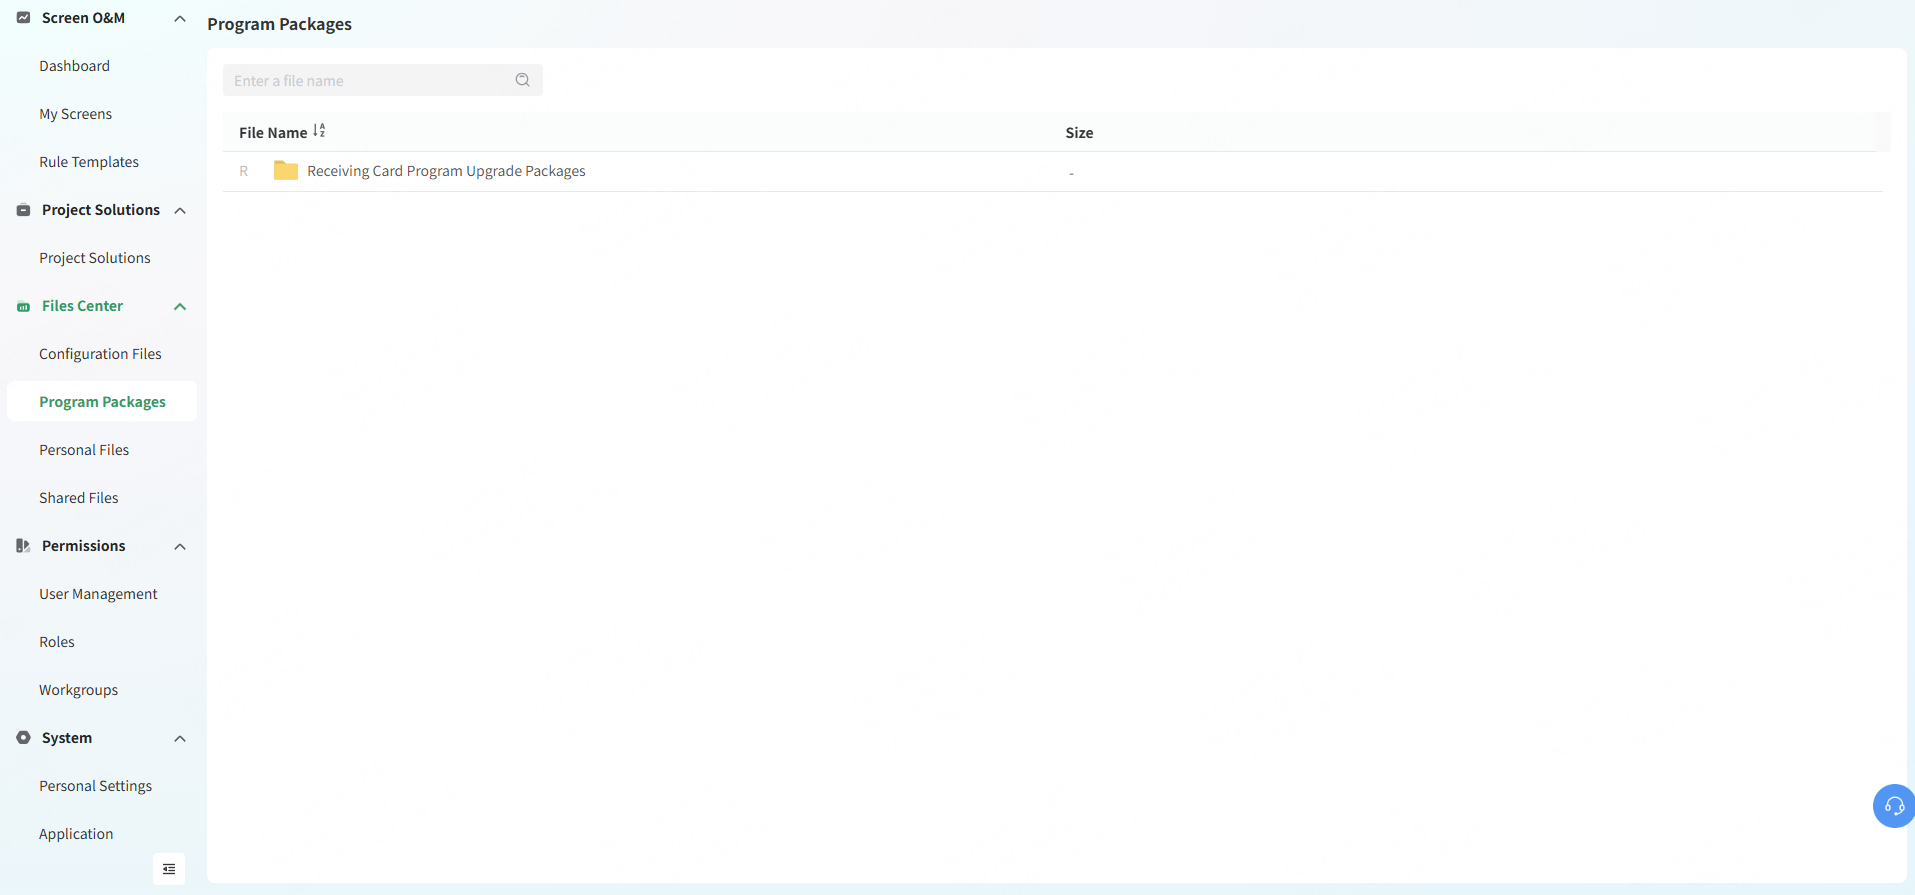
Program Packages
From the navigation bar on the left, choose
Files Center
>
Program Packages
.
Select program packages as required.
Prev: Configuration Files
Next: Personal Files
 VNNOX Care Help Center